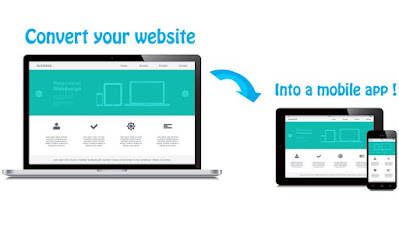
How to convert a website into andriod app
Evaluate your website
1. Evaluate your website: Review your website and determine which features and functionalities you want to include in your Android app. Consider the design, layout, content, and interactive elements.
Choose a development approach
2. Choose a development approach: There are a few approaches you can take to convert your website into an Android app:
WebView-based approach
a. WebView-based approach: This involves embedding your website within a WebView component of an Android app. It provides a simple way to wrap your website as an app, but it may lack some native functionality.
Progressive Web App (PWA
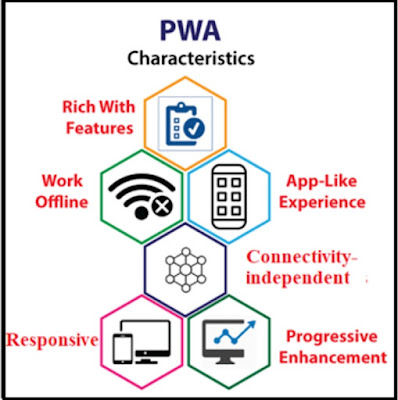
b. Progressive Web App (PWA): If your website is built as a PWA, it can be installed on mobile devices as an app-like experience. PWAs offer better offline support and access to device features compared to WebView-based apps.
Native app development
c. Native app development: This approach involves recreating your website's functionality using native Android development tools and languages such as Java or Kotlin. It provides the most control and access to device features but requires more development effort.
3. WebView-based approach:
Android project
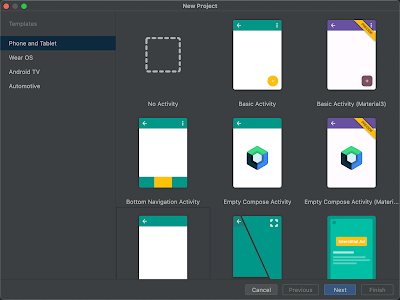
a. Create a new Android project: Set up a new Android project in Android Studio.
WebView Component
b. Add WebView component: Modify your app's layout XML file to include a WebView component that will load your website. You can customize the WebView settings as per your requirements.
Handle WebView settings:
c. Handle WebView settings: Configure settings such as JavaScript support, cache management, and handling URL redirections. You can use the WebView APIs to manage these settings.
Customize the user interface
d. Customize the user interface: Customize the app's user interface to make it feel more like a native app. This may involve adding toolbar, navigation drawer, or other elements.
Test and deploy
e. Test and deploy: Test your app on various devices and screen sizes to ensure it functions correctly. Generate an APK file and distribute it through the Google Play Store or other distribution channels.
4. PWA approach:
Ensure your website is a PWA
a. Ensure your website is a PWA: If your website is not already built as a PWA, you need to convert it into one. Ensure it has a manifest file, service worker, and meets the PWA criteria for installability and offline support.
Test PWA functionality
b. Test PWA functionality: Verify that your website works as a PWA by accessing it through a mobile browser. Test offline functionality, app-like behaviors, and responsiveness.
Add to the home screen
c. Add to the home screen: Encourage users to add your PWA to their home screen by providing a prompt or instructions. This will make it feel more like a standalone app.
5. Native app development:
Plan your app architecture
a. Plan your app architecture: Identify the key features and functionalities of your website and plan how to recreate them using native Android development tools. Consider database integration, API calls, UI design, and navigation.
Design the user interface
b. Design the user interface: Create the app's user interface using Android XML layouts. Ensure it matches the design and layout of your website, adapting it to the mobile form factor.
Implement functionality
c. Implement functionality: Use Java or Kotlin to write the code that replicates your website's functionality. This may involve fetching data from APIs, handling user input, and managing state.
Test and debug
d. Test and debug: Thoroughly test your app on various devices and screen sizes. Fix any bugs or issues you encounter during testing.
Publish the app
e. Publish the app: Generate a signed APK file and publish it on the Google Play Store or other distribution channels.
Remember that the specific implementation may vary depending on the approach you choose and the tools you use.


Post a Comment